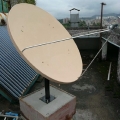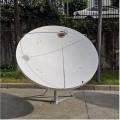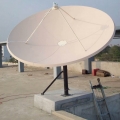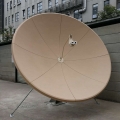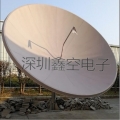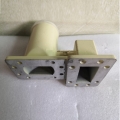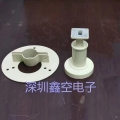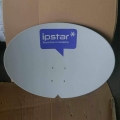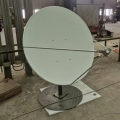
- Antenna pot series
SMC antenna ordinary antenna Small antenna pot, KU receiving antenna, Engineering receiving antenna and mesh receiving antenna - LNB
- SATELLITE FINDER
SATELLITE FINDER MODULATOR - Hotel TV Solution
C-band satellite scheme Hotel TV Plan - Satellite accessories
SatelFinder Splitter DiSEqC Switch Satellite fixture Cable components and audio and video plugs - Satellite HD BOX
Set-top Boxes HD BOX 92.2 Set-top Boxes Ground wave set-top box Digital TV receiving card - modulator-card
TV Tuner PCle TV Tuner USB
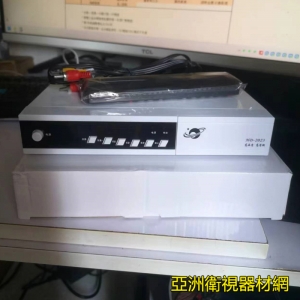 |
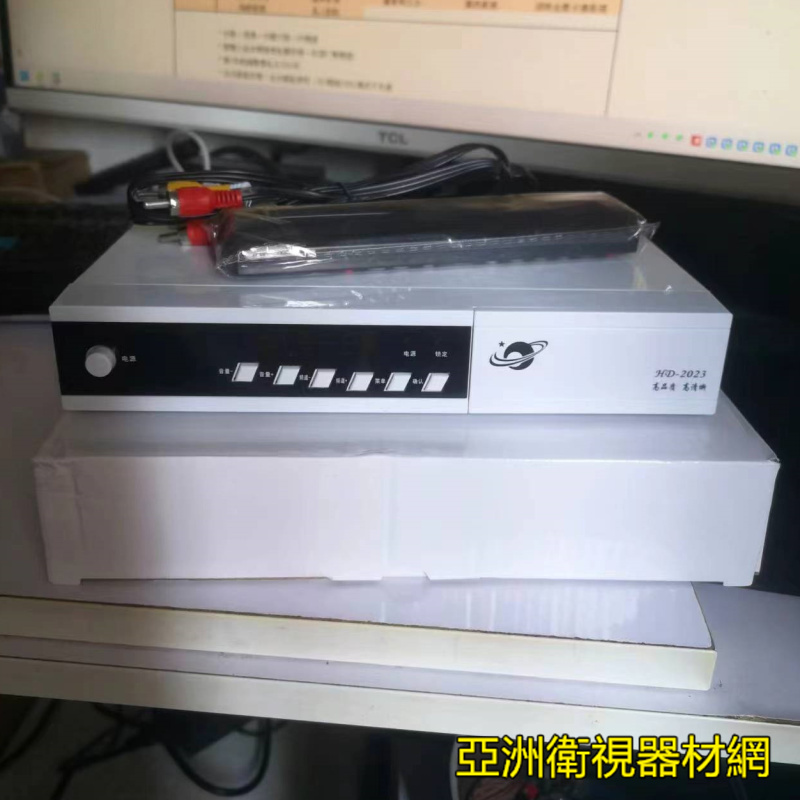
D-SKY Digital Sky Live Satellite TV Upper Box Digital HD311 Receiver
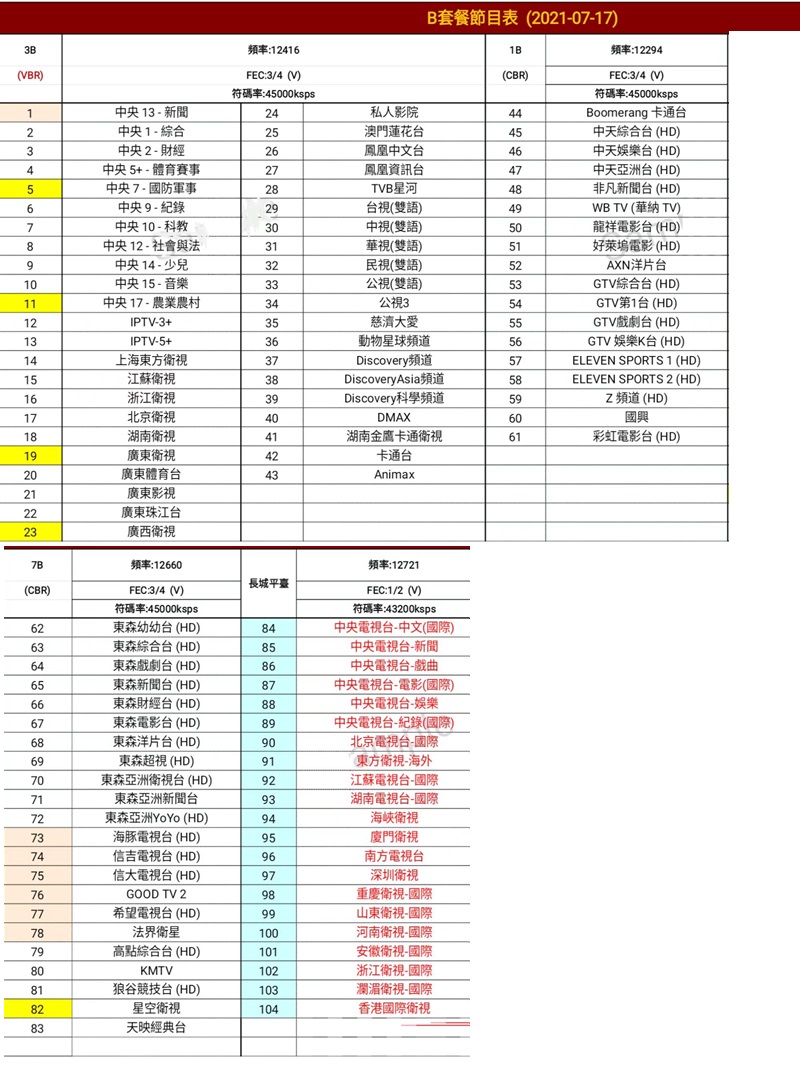
D-SKY Digital Sky DIY Installation Steps
Observation of installation site
The orientation of the satellite is about 143 degrees (approximately southeast), with an elevation angle of 55 degrees
Satellite antennas can be fixed on walls or the ground
As long as the sun is around 10:30 am (the position of the satellite),
A satellite antenna can be installed on the ground or wall where sunlight can directly reach (without shadows) to receive satellite signals.
In addition, compasses and protractors can also be used to confirm the position of satellites
Preparation section 2
Receiving equipment:
Digital Sky Receiver, LNB Collector, Satellite Antenna, Satellite Cable, Cable Connectors
Using tools:
Small screen (with HDMI or AV terminals), extension cord, drill, hammer, Phillips screwdriver, 10-12 wrench, pointed nose pliers, art knife, electrician tape
Three Installation Chapters
Before searching for a satellite, the satellite antenna base must be fixed first, and the fixed position must be determined to ensure that the satellite signal is not obstructed by any obstacles. The column of the base must be perpendicular to the ground, so that the elevation scale of the antenna has reference value.
After fixing the base, place the assembled satellite antenna on the base column to start adjusting the antenna. Before adjusting the antenna, be sure to rotate the LNB cable connector to the 7:30 direction. (Facing the antenna, the LNB cable connector points in the o'clock direction)
Refer to the compass and move the antenna left and right to 143 degrees, approximately southeast
Refer to the elevation scale on the antenna mount and move the antenna up and down to a position of 55 degrees
Open the digital antenna box on the first channel (H01), press the "Information" button on the remote control, and a signal program information screen will appear. This screen will display two types of received data, "Signal Strength" and "Signal Quality", for reference.
Signal strength is a numerical value that appears when the cable is connected to LNB. Whether it is tuned to the target satellite or not, the change is not significant, and it is more valuable than the reference value of an unadjusted satellite. However, if the signal strength is still 0% after the line is connected, it may be due to LNB failure or cable and connector problems.
The signal quality needs to be adjusted to the target satellite value in order to appear. The stronger the received signal, the higher the value. A 60cm satellite antenna can usually receive more than 60% of the signal quality, which can be used as an important basis for whether the satellite antenna has received the satellite signal.
The directionality of satellite signals is very sharp, and if the azimuth and elevation angles deviate by 1-2 degrees, the signal will not be received. When adjusting the satellite antenna, be sure to place the on-board box and small screen next to the satellite antenna, and refer to the "signal quality" of the on-board box to adjust the satellite antenna. As long as the satellite signal is not blocked by obstacles, the installation and adjustment steps of the antenna are correct, and the antenna can be patiently adjusted to the satellite signal
Purchase consultation(have0Article Consultation)
If you have any questions about this product, please ask and consult!
Product Review(have0A comment)
If you have any feedback or experience about this product, please feel free to share!